
Last updated September 19, 2026
Full 25-point door and opener safety check with every visit - springs, cables, rollers, tracks, and your LiftMaster or Chamberlain opener included
You get a price before we start. It does not change when the truck arrives.
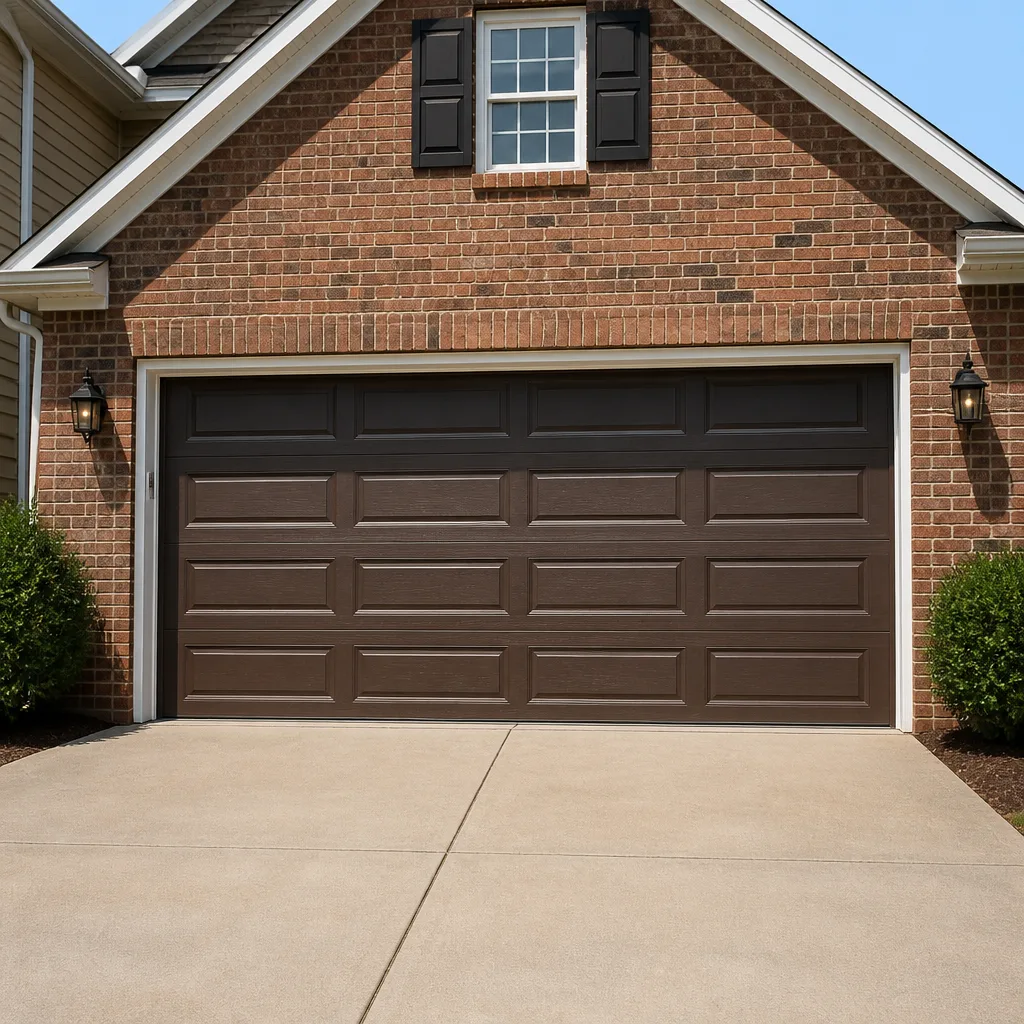
Carriage house
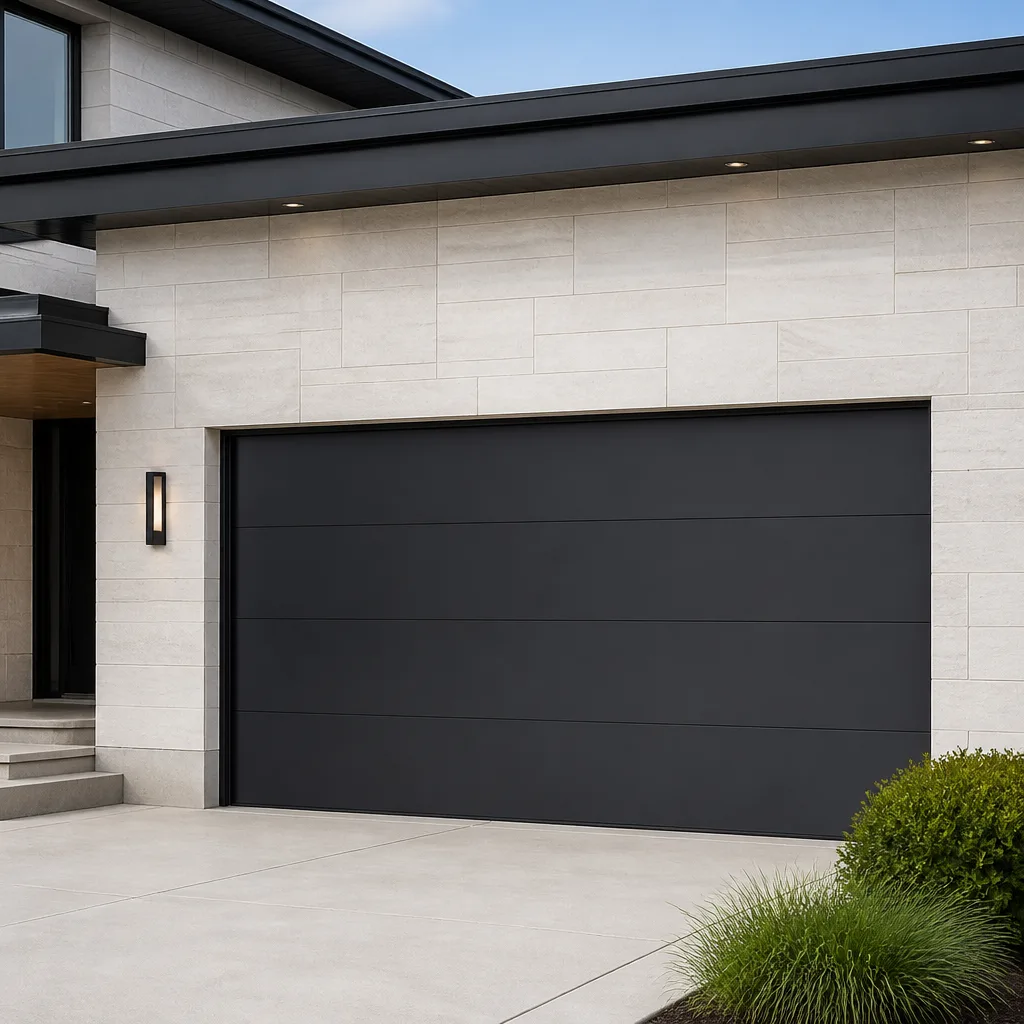
Full-view glass
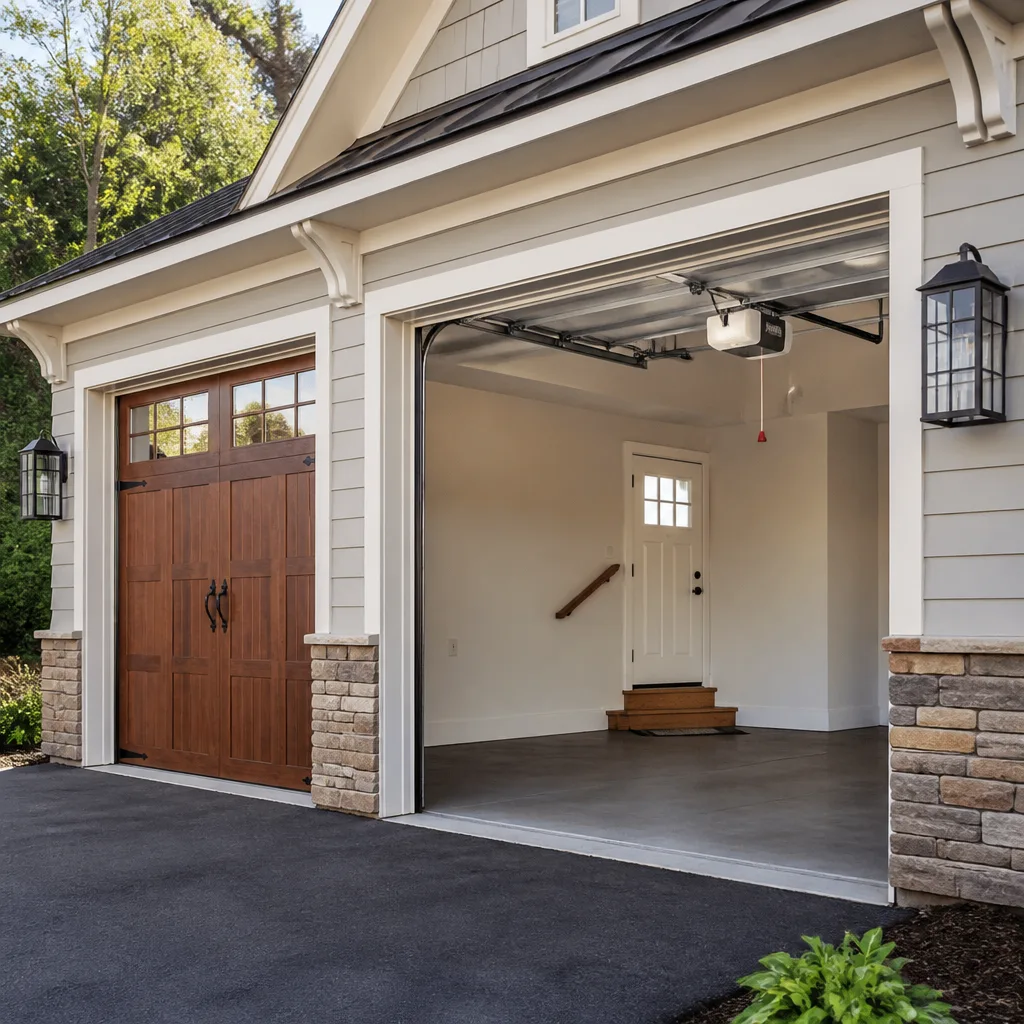
Chamberlain openers
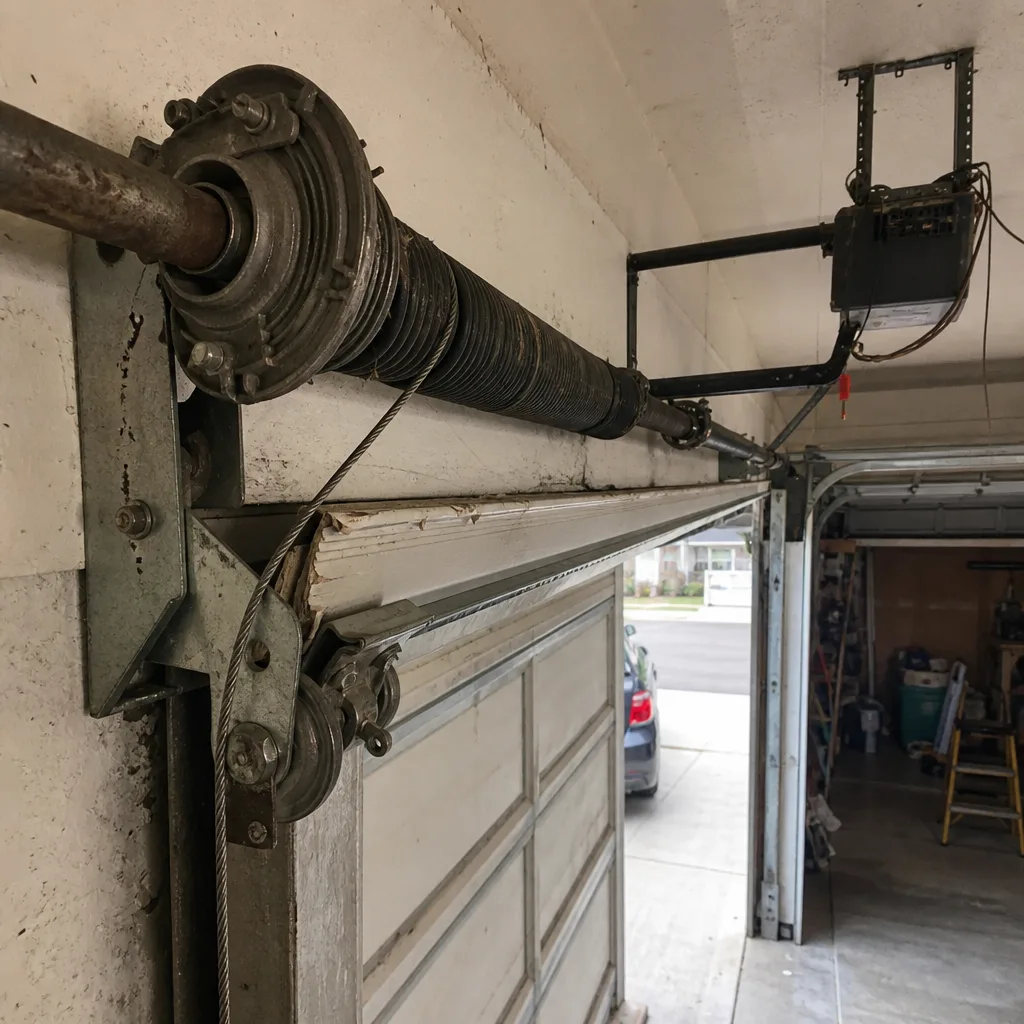 Before
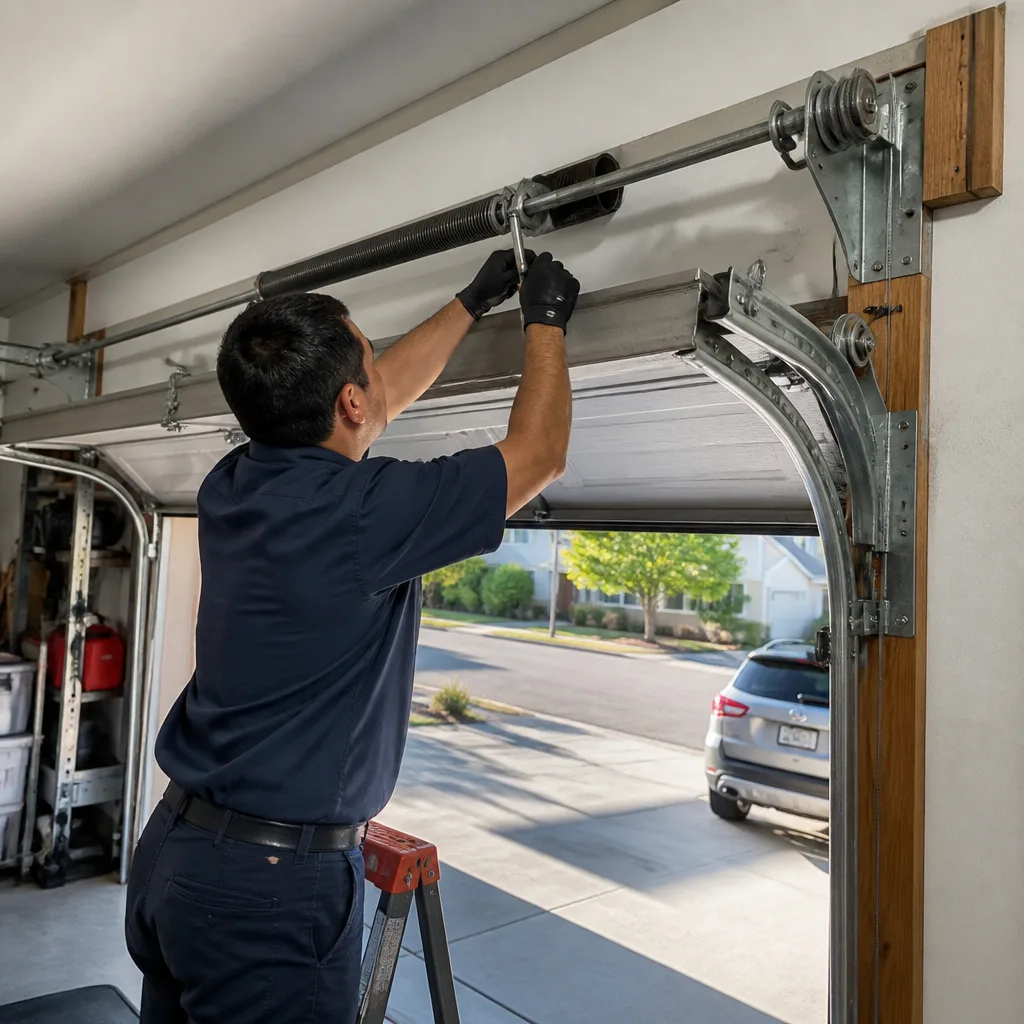 After
After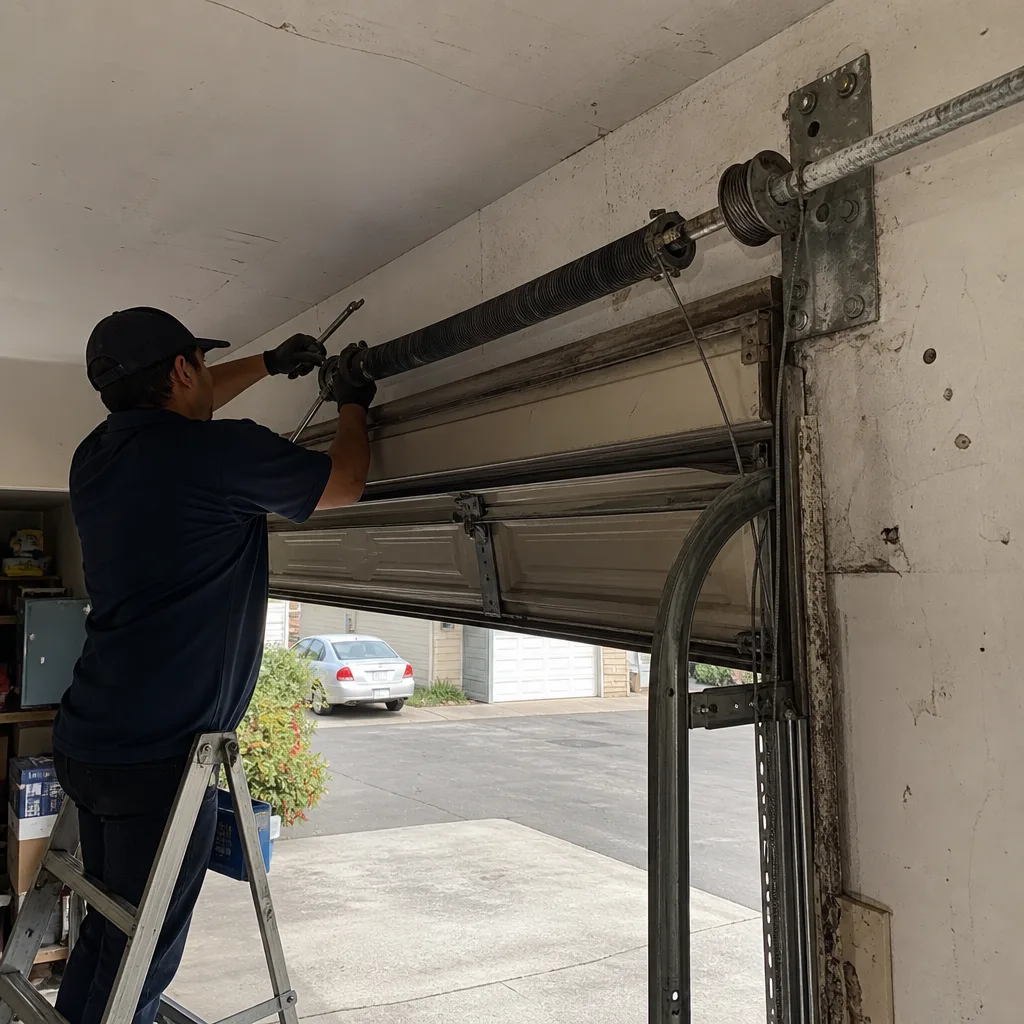 Before
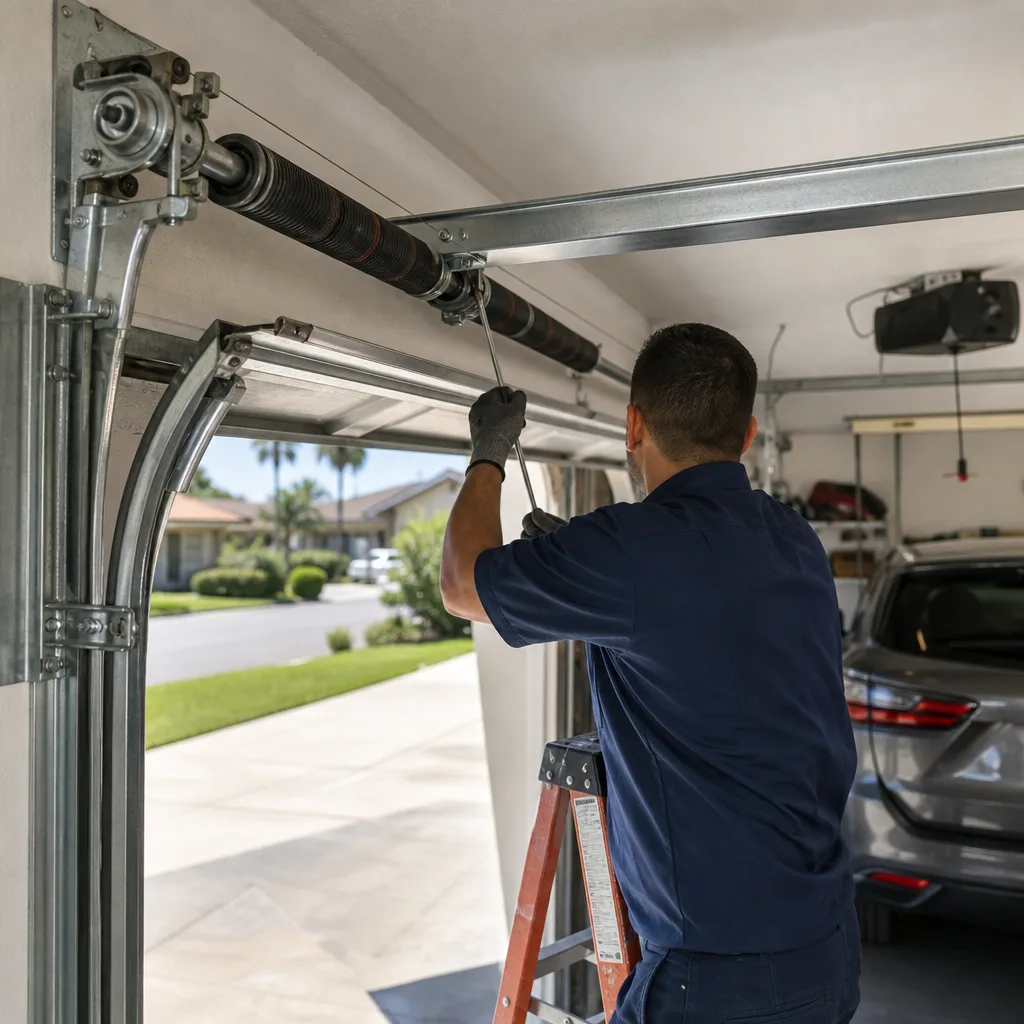 After
After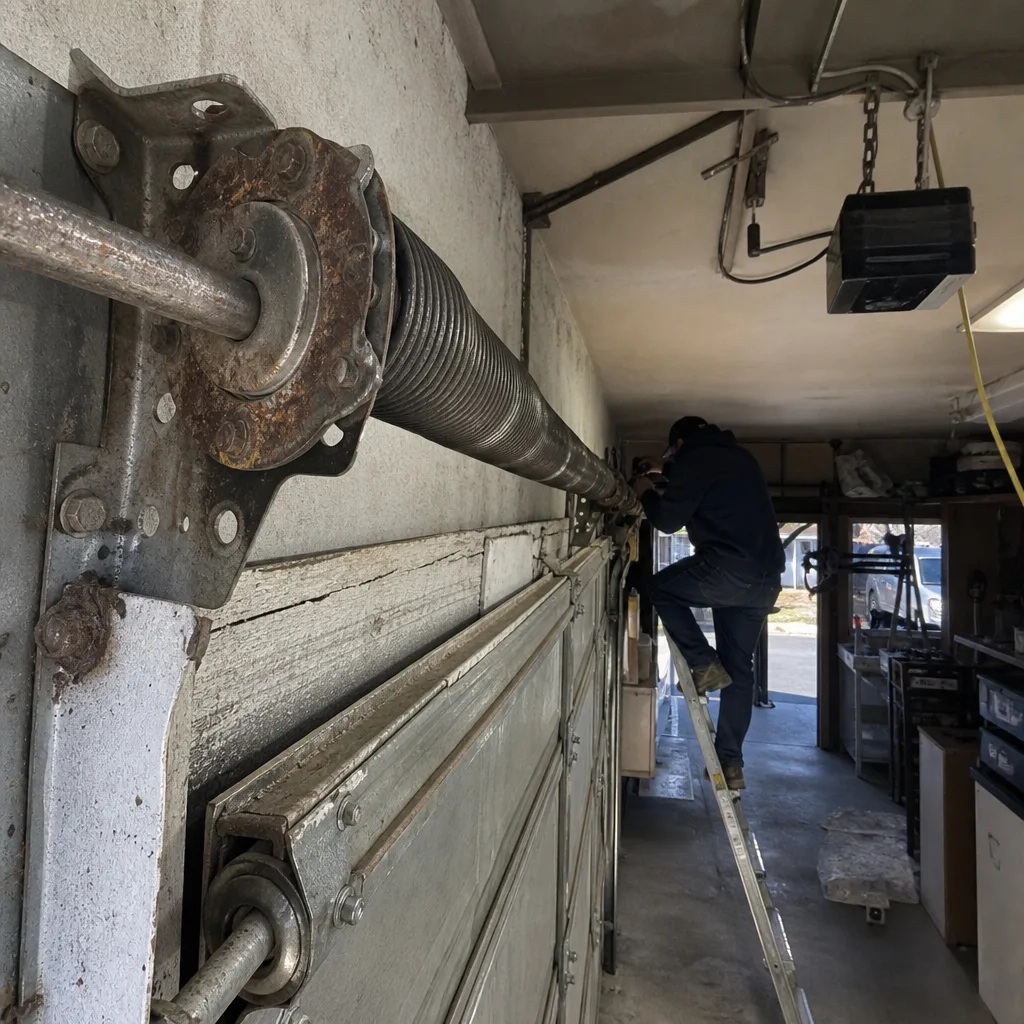 Before
 After
AfterGarage Door Repair Maintenance Checklist for Anaheim Homeowners
The most common maintenance advice handed to Anaheim homeowners is to lubricate their garage door with WD-40. That single suggestion, repeated across countless DIY guides, accelerates wear on nylon rollers and attracts abrasive grit to metal ones. What starts as a $12 can of the wrong product becomes a $180 roller replacement and a service call that could have been avoided with one corrected sentence. This checklist exists because the standard advice is incomplete: it tells you what to inspect, but never what a passing result looks like, what a failing measurement costs, or what to do with what you find. For a deeper look at when problems develop, see our Garage Door Warning Signs: A Anaheim Homeowner’s Reference Guide. By the end of this guide, you’ll have a pass/fail standard for every component on your door, the correct product spec for each material, and a record-keeping format that makes any future repair in Anaheim faster and cheaper to diagnose.
Quick Answer
A complete garage door maintenance checklist for Anaheim homeowners includes monthly visual inspections of springs, cables, and rollers; quarterly lubrication with a lithium-based grease on hinges and a silicone spray on nylon rollers; a twice-yearly balance test where the door holds at 18 inches, 36 inches, and fully open; and an annual weatherseal compression check before Santa Ana wind season. Most homeowners can perform these checks in under 20 minutes, and a documented record of each inspection makes any future Garage Door Repair in Anaheim visit faster to quote and easier to trust.
Table of Contents
- Lubrication by Component: What Actually Goes Where
- The Balance Test: Pass/Fail Thresholds in Inches
- Torsion Spring Inspection: Stress Cracks vs. Surface Rust
- Weatherseal Compression and the Santa Ana Dust Problem
- Roller and Cable Wear: What to Look For Before It Breaks
- Track Alignment and Bolt Torque Checks
- Opener Safety Systems and Force Settings
- Documented Record-Keeping: The Format That Saves You Money
BeforeAfterLubrication by Component: What Actually Goes Where
Garage door lubrication fails most often not because homeowners skip it, but because they use one product for everything. The door has four distinct material pairings, and each one calls for a different lubricant. Using WD-40 on nylon rollers is the canonical mistake: the solvent carrier in WD-40 breaks down the nylon’s plasticizer over time, making the roller brittle and prone to cracking at the bearing. On metal rollers, the thin film attracts dust and creates an abrasive paste that wears the ball bearings inside.
Here is the correct specification by component, which we’ve refined across thousands of service visits in Anaheim since 2015:
- Hinges (metal-on-metal pivot points): White lithium grease, applied as a thin film to the hinge pin and pivot points. Lithium grease stays in place and resists the fine dust that Anaheim’s dry climate puts into the air. Reapply every 3 to 4 months.
- Rollers (nylon): Silicone spray only, applied to the bearing area, not the wheel surface. Silicone does not degrade nylon and does not leave a tacky residue. Reapply every 6 months. If you have metal rollers, replace them with nylon before lubricating; metal rollers with worn bearings are a replacement item, not a lubrication job.
- Torsion springs: A heavy-duty garage door spring lubricant or a spray white lithium applied directly to the coil faces, once per year. The goal is to reduce friction between coils as the spring winds and unwinds, which reduces metal fatigue at the coil surface. On Anaheim’s newer homes, most torsion springs measure between 10,000 and 20,000 cycles, and dry coils shorten that lifespan measurably.
- Tracks: Nothing. Tracks should be clean and dry. Lubricant on a track collects dust and creates a viscous drag that forces the opener to work harder. If your rollers are binding in the track, the problem is alignment or a failing roller bearing, not friction that oil will fix.
A note on product selection: 3-IN-ONE Professional Garage Door Lubricant and Blaster Garage Door Lubricant are both silicone-based sprays that work for rollers. For hinges, Lucas Oil White Lithium Grease or WD-40 Specialist White Lithium Grease (a different product from standard WD-40) both perform well. The distinction matters: the word “specialist” on the can is the difference between a lithium soap thickened grease and a penetrating solvent.
We’ve walked into Anaheim garages where every component glistened with the same spray, and the door ran noticeably rougher than one that had never been touched. The fix is simple to state and harder to implement: match the lubricant to the material, wipe away any excess, and never spray a track.
The Balance Test: Pass/Fail Thresholds in Inches
A properly balanced garage door is one where the torsion spring assembly carries the door’s weight so precisely that a single hand can move the door through its full travel. When a door is out of balance, the opener motor compensates for the difference, which shortens the opener’s life and masks a spring that is losing tension or nearing failure. The balance test is the single most predictive maintenance check you can perform, and the pass/fail criteria are specific: this is not a judgment call.
Here is the test procedure, step by step:
- Close the garage door completely. Disconnect the opener by pulling the red emergency release handle, typically located on the opener rail near the motor.
- Lift the door manually to approximately 18 inches above the floor. The door should hold that position without drifting more than 2 inches in either direction over a 10-second count.
- Lift the door to approximately 36 inches. The same standard applies: no more than 2 inches of drift in 10 seconds.
- Lift the door to fully open, then release it at the halfway point while closing. A balanced door will settle or drift no more than 2 to 3 inches and then hold.
- Reconnect the opener by pulling the release handle again or letting the opener’s carriage re-engage on the next cycle. On most openers, running the motor with the door disconnected for one cycle re-engages the carriage automatically.
Fail criteria and cost consequences: If the door drifts more than the thresholds above at any position, the spring tension is no longer correct. A door that drops from 18 inches means the spring has lost tension or is undersized for the door’s weight; this forces the opener motor to work against gravity every cycle, and we’ve replaced opener gears in Anaheim homes that burned out within two years of a spring replacement that was never re-balanced. A door that creeps up from the closed position means the spring is over-tensioned, which is equally destructive. The correction is a spring adjustment that typically costs $80 to $180 including a service call in Anaheim, versus a replacement opener at $350 to $700 if the imbalance goes unaddressed.
If your test shows any drift beyond the threshold, call for a spring adjustment rather than continuing to operate the door. The springs on a modern sectional door store enough energy to lift 150 to 250 pounds; an improperly tensioned spring is the most dangerous component on the door.
Torsion Spring Inspection: Stress Cracks vs. Surface Rust
Torsion springs fail in two distinct ways, and you can spot the difference from the ground with a flashlight. Understanding what you’re looking at determines whether you’re scheduling a replacement or simply noting cosmetic wear.
Surface rust is a reddish-brown discoloration on the coil faces. On a spring that is otherwise intact, surface rust alone does not indicate imminent failure. It means the spring’s protective finish has worn and the steel is exposed to Anaheim’s air; coastal-adjacent humidity in Anaheim is mild, so surface rust progresses slowly. It is a cosmetic concern that you can note in your record and monitor. A light coat of spring lubricant on the coils once per year slows further oxidation.
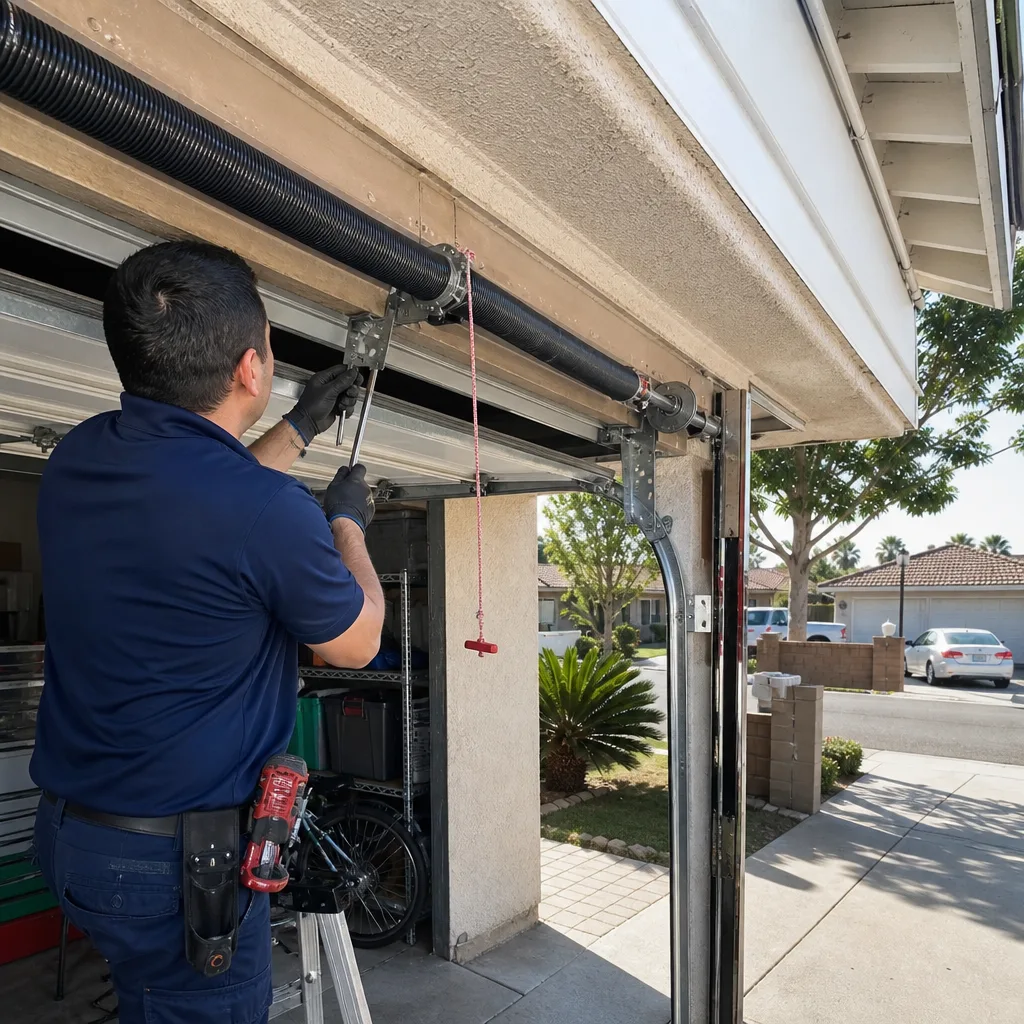
Stress cracks are different and demand immediate attention. A stress crack appears as a dark, jagged line running across the coil face, often starting at the winding cone (the cast aluminum or steel fitting at the end of the spring where it winds onto the shaft). You may also see a slight separation between coils where the crack has propagated, or a coil that sits visibly out of plane with its neighbors. A stress crack means the spring has entered the fatigue failure stage. The industry-standard spring life for a 10,000-cycle spring on a door that operates 4 cycles per day is roughly 7 years; Anaheim homes built between 2015 and 2025 are largely reaching or approaching their first spring replacement window as of this writing.
When you inspect the winding cones, look specifically at the set screws. A cone with a cracked casting will show a hairline fracture radiating from the set-screw hole. If you see that, do not operate the door manually or with the opener. Place a call and keep the door closed. A spring failure under load is violent: the spring unwinds in under a second, and anything within the travel path of a broken coil or a loose winding bar is in danger.
The inspection itself takes under a minute. Stand inside the garage with the door closed, shine a light on each spring along its length, and look at the coil faces and the cones. Write down what you see: spring length approximate, any rust, any cracks, any coil separation. This observation goes into your maintenance record.
Weatherseal Compression and the Santa Ana Dust Problem
Anaheim’s defining seasonal weather pattern is the Santa Ana wind: dry, gusty air that originates inland and blows toward the coast, typically between September and February. For a garage door, the Santa Anas are a dust infiltration engine. The pressure differential those winds create against the garage door face is enough to pull fine dust through any gap where the bottom weatherseal has lost compression.
The check is tactile and specific. With the door closed, run your hand along the bottom seal where it meets the garage floor. You’re feeling for even compression. A healthy seal compresses visibly and evenly across the full width of the door. Now look for daylight: on a sunny Anaheim afternoon, crouch at eye level with the floor and look across the seal line. Any visible light means the seal is no longer making contact, and dust is entering during every wind event.
The compression test matters because bottom seals fail gradually. The rubber or vinyl bulb flattens over time, especially on the side where the door meets the concrete at the corners. Anaheim garages with a slight floor slope (common in homes built on older lots) wear the seal unevenly, with the low corner losing compression first. If you find a gap at the corner but the center still seals, you can sometimes remedy it by adjusting the door’s travel limit downward a fraction of an inch; more often, the seal itself has cold-compressed and needs replacement.
Seal replacement is a $60 to $120 part plus a straightforward installation, and the return is measurable: less dust on everything stored in the garage, less heat transfer during summer afternoons when the garage faces west, and fewer insects entering at the floor line. The check should happen every year in August, before the Santa Ana season starts in earnest, so the fix is in place before the first wind event. We see the difference in Anaheim garages with west-facing doors: those with intact seals keep a car noticeably cleaner through the fall; those without develop a fine silt layer on every horizontal surface within four weeks of the first Santa Ana.
Roller and Cable Wear: What to Look For Before It Breaks
Rollers and cables carry the door’s weight through its travel path, and both give visible warning signs long before failure if you know what to look for. The inspection is visual and takes under five minutes, but it catches the two failures that cause the most dramatic door jams.
Roller inspection: With the door closed, look at the rollers where they meet the vertical track. Each roller has a wheel surface and a bearing at the center where it mounts to the hinge stem. A healthy nylon roller shows no visible cracking on the wheel face, no flat spots, and no wobble when the door moves. A failing roller shows one of three signs: visible wear lines or chips in the nylon wheel, a gap between the wheel and the bearing race, or audible grinding as the door moves. Any roller showing these signs is a replacement item, typically $15 to $25 per roller for quality nylon rollers with sealed bearings. On an Anaheim door that cycles 4 times daily, nylon rollers last 7 to 10 years before the bearing seals dry out.
Cable inspection: The lifting cables run vertically along each side of the door and attach to the bottom bracket. Look for fraying: individual wire strands separating from the cable body, which appears as fuzzy or barbed spots along the cable length. Look also at the cable drum at the top of the track on each side; the cable should wind evenly onto the drum with no overlapping coils. An uneven wind means the door is carrying uneven tension, often a symptom of a failing spring or an out-of-level door. A frayed cable is a replacement call: the cable is under the full tension of the spring, and a cable that parts under load lets the door drop on that side. On a 16-foot double door, that’s 150 to 250 pounds falling unevenly.
The rollers you cannot safely inspect without removing tension are the bottom rollers, which sit under the cable and carry the highest load. If upper rollers show wear, assume the bottom rollers are worse. The replacement of all rollers on a standard two-car door typically runs $140 to $250 in Anaheim including parts and labor. It is a preventive replacement, and the noise difference alone is usually noticeable immediately.
Track Alignment and Bolt Torque Checks
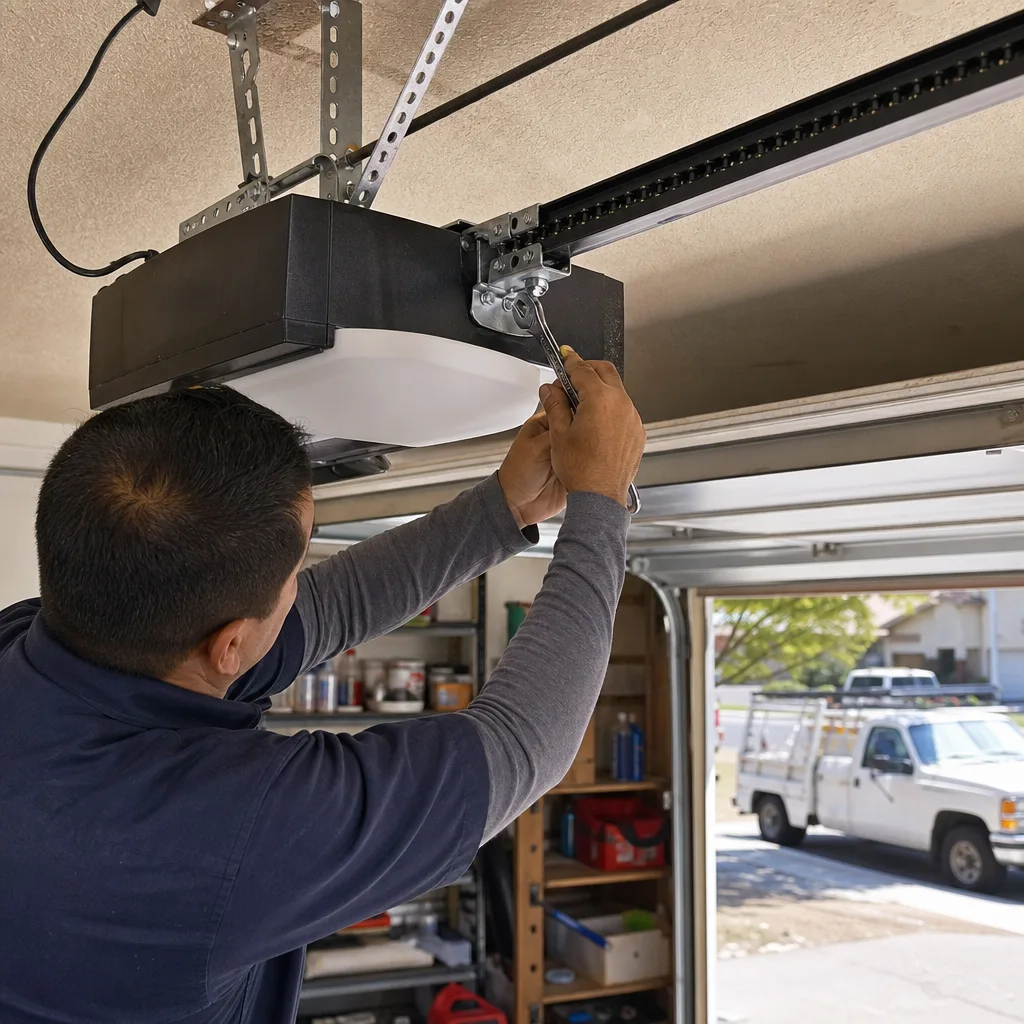
Garage door tracks are structural. They guide the door through its travel path, and they absorb the lateral forces from every open and close cycle. Over time, especially on doors that see heavy daily use on Anaheim’s denser residential streets, track bolts loosen and vertical tracks drift out of alignment. The result is a door that binds, scrapes, or runs rough, and a motor that works progressively harder.
Track inspection is a two-part check:
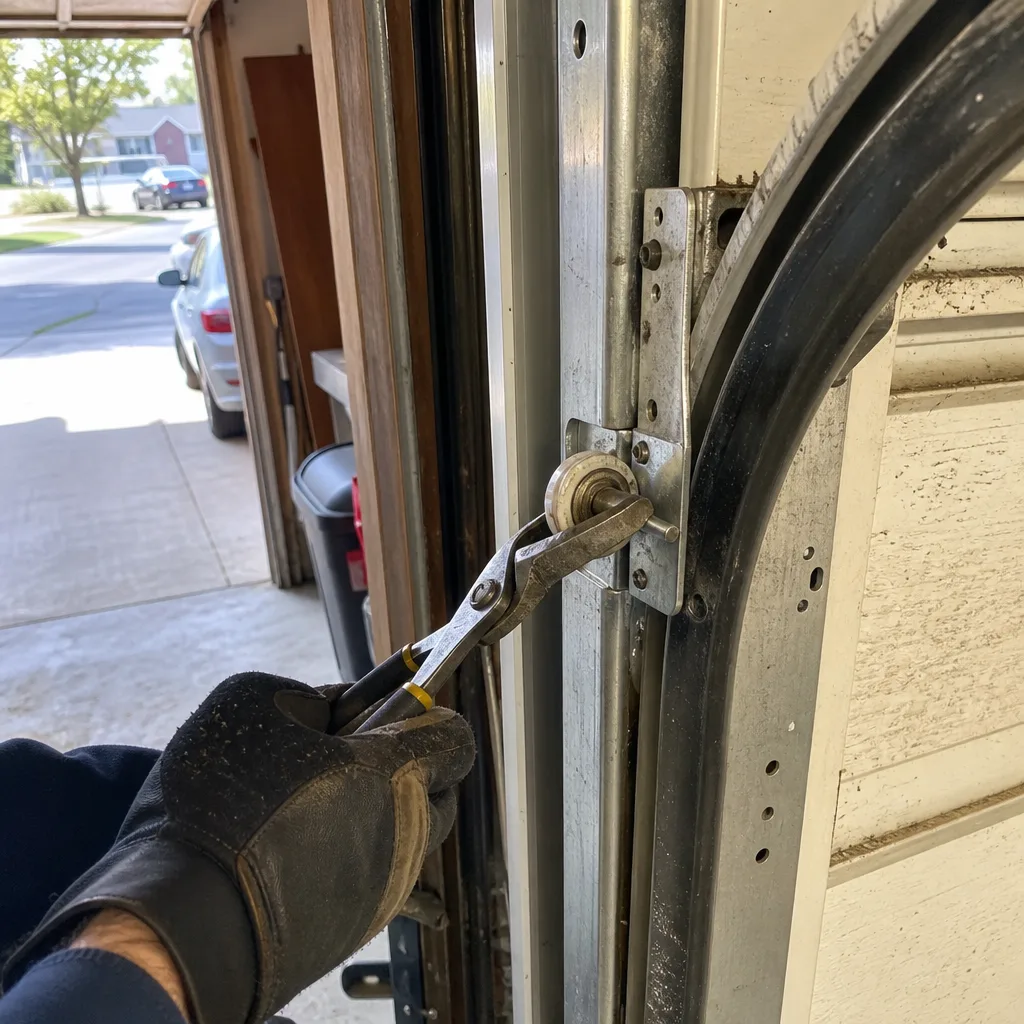
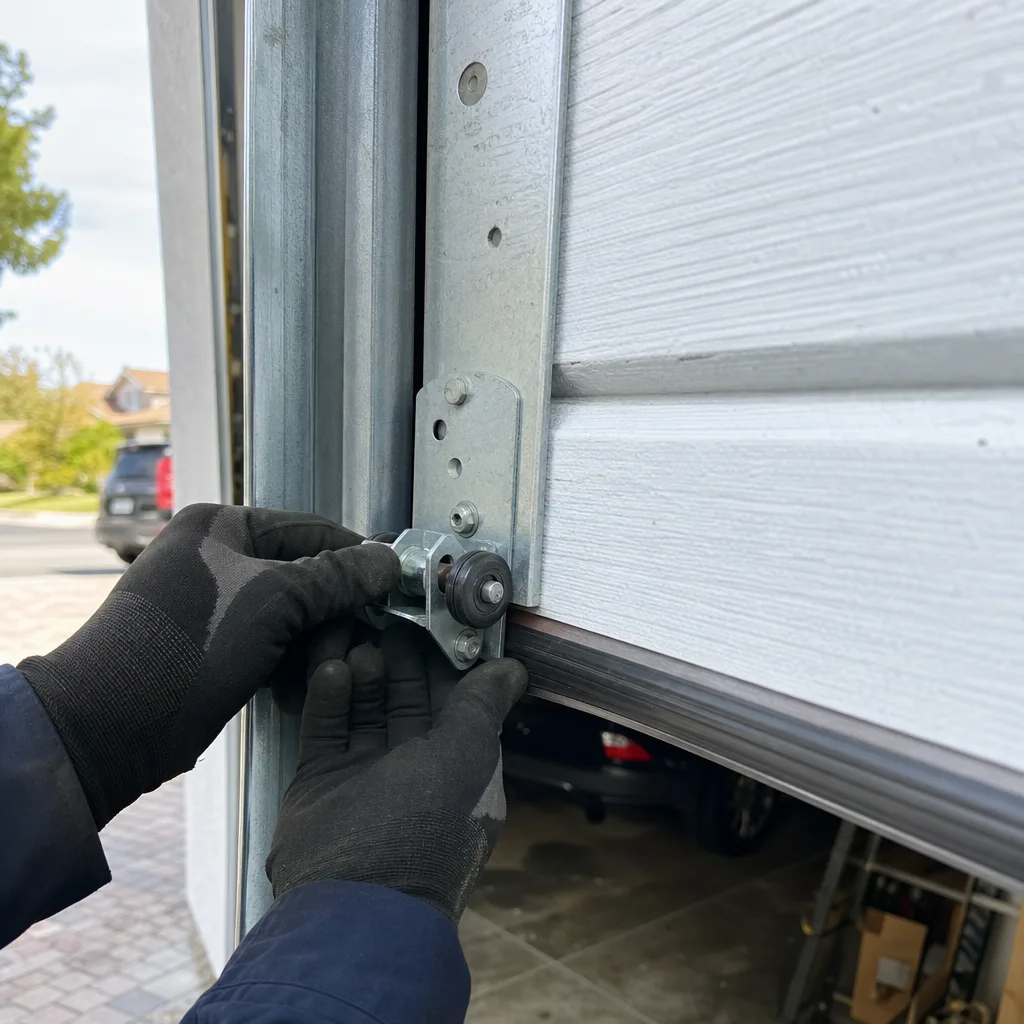
- Bolt torque check: Every 6 months, run a hand over the bolts on the vertical and horizontal track brackets. You’re feeling for looseness, not cranking on a wrench. A bolt that has backed out will show a gap between the bracket and the wall or ceiling, or rotate when you push on the bracket by hand. Tighten loose lag bolts with a socket, but do not remove them: the track is under tension from the door’s weight, and removing a bolt under load can shift the track suddenly.
- Alignment check: With the door closed, stand at the front of the garage and sight down the vertical track on each side. The track should appear straight and parallel to the door edge. Look specifically at the transition where the vertical track curves to horizontal: this is where misalignment appears first. A door that has been hit by a car bumper (common in Anaheim’s tighter garages, where the door opens directly onto the driveway) will show a kink at that radius. A track that is visibly out of parallel means the door is rubbing the track face on one side, which wears the roller and the track edge simultaneously.
Track replacement in Anaheim runs $90 to $180 per side for a standard residential track set. It is not a frequent replacement, but a kinked track is not a serviceable part: the bend cannot be straightened back to tolerance without weakening the metal. If you catch loosened bolts before the track shifts, the fix is a five-minute retorque with no parts cost. That is the entire value of this check.
Opener Safety Systems and Force Settings
Modern garage door openers in Anaheim homes are required by federal law to include two safety systems: a photo-eye sensor pair at the base of the door and an automatic reverse mechanism that detects obstruction and reverses the door. Both are testable in under two minutes, and both fail in ways that are visible when you know the test procedure.
Photo-eye test: The sensors sit on each side of the door, roughly 6 inches above the floor, each with a small LED indicator light. With the door open, press the wall button to close the door, then pass your foot through the sensor beam while the door is closing. A properly functioning sensor stops the door and reverses it within 1 second. If the door continues closing or reverses only after touching your foot, the sensors are misaligned or the photo-eye has failed. This is a safety failure: the system exists to prevent the door from closing on a child or pet, and a non-functional photo-eye is a repair item, not a deferral.
Force setting test: Place a 2×4 or a rolled-up towel flat on the garage floor directly under the door’s path. Close the door. A properly adjusted opener should reverse within 2 seconds of contacting the object. If the door crushes the object and continues or reverses only after significant resistance, the opener’s force limit is set too high. The force adjustment is a small dial or digital setting on the opener motor unit, and the correct setting is the minimum force required to close the door reliably. Opener force settings drift over time as the door’s balance changes; a door that needed more force to close yesterday is a symptom of an underlying problem (usually spring tension or track friction), not a reason to turn the dial up.
We see force settings cranked to maximum in Anaheim garages where a previous repair masked a balance problem by simply overpowering it. That opener will close on anything in its path, including the rear bumper of a car that is nosed in too far. The test above catches it in two minutes. For openers older than 12 years, replacement of the opener itself is often the more practical fix: a modern Garage Door Opener Repair & Installation in Anaheim with DC motor drive and Wi-Fi capability runs $450 to $750 installed.
Documented Record-Keeping: The Format That Saves You Money
The most overlooked maintenance practice in Anaheim garages is not a physical task at all: it is writing down what you found. A maintenance record turns a collection of observations into a diagnostic history, and when a technician arrives for a repair, that history shortens the diagnosis and eliminates guesswork. Here is the format we recommend, written to be useful for you and readable by any technician who works on your door later.
Keep a single sheet or a note on your phone with these fields, updated after every inspection:
- Date and door cycle count (approximate): The cycle count is the running total of open/close operations, not a lifespan estimate. A door that cycles 6 times daily accumulates 2,190 cycles per year; spring life ratings are cycle-based, so this number predicts spring replacement windows directly.
- Balance test result: Record the drift at 18 inches and 36 inches in exact inches (“18 in: held, 0 drift; 36 in: dropped 1.5 in”). The trend matters more than any single reading.
- Spring observation: Note surface rust, cracks, or coil separation in plain language (“right spring: surface rust on lower coils, no cracks visible”).
- Roller and cable findings: Any roller showing wear lines or bearing play, any cable fraying or uneven winding.
- Weatherseal compression status: “Seal compresses evenly, no daylight” or “Corner gap at left side visible from 3 feet.”
- Lubricant applied and date: Which component, which product, and the date. This prevents over-lubrication and tracks product performance.
- Opener safety test results: “Photo-eye reverses within 1 second, force reverses on 2×4.”
The record serves a purpose beyond your own convenience. When a repair is needed, the technician sees the history and skips diagnostic steps that would otherwise be billed as discovery time. It also protects you against an unscrupulous repair quote: if your record shows the spring was replaced 18 months ago and a quote says the spring is “worn out,” the documentation tells a different story. At Servo Garage Doors Anaheim, every repair includes a documented photo record of exactly what was found and what was done, tied to the written price agreed before the work began. A homeowner’s own maintenance log complements that record from the other direction: it shows what was observed between visits, which makes the next repair visit faster and more precise. When you do need Garage Door Repair services, that documentation ensures you get accurate quotes and faster fixes.
For Anaheim homeowners approaching a first Garage Door Installation in Anaheim or a major component replacement, the record establishes the door’s service history and helps determine whether repair or replacement is the better financial decision. A door with consistent records showing a balanced spring, clean tracks, and recent roller replacement is likely a repair candidate; a door with no history and visible neglect is often a replacement conversation.
Common Mistakes to Avoid
- Lubricating the tracks. This is the single most common error we correct in Anaheim garages. Tracks are guides, not bearings. Oil on a track collects dust and creates drag, which forces the opener to work harder and shortens its life.
- Using WD-40 on nylon rollers. The solvent carrier degrades the nylon wheel material, causing brittleness and cracking. Use silicone spray only.
- Skipping the balance test because the door “seems fine.” A door that opens and closes does not mean the spring is carrying the load correctly. The opener motor masks imbalance until the imbalance destroys the motor. The 18-inch and 36-inch drift measurements catch it before that happens.
- Confusing surface rust with structural failure on springs. Rust is cosmetic; cracks are structural. The distinction determines whether you schedule a replacement or simply note the observation.
- Adjusting opener force settings to fix a door that is getting heavier. The door is not getting heavier: the spring is losing tension or the track is binding. Increasing force masks the symptom and creates a safety hazard.
- Not writing anything down. Unrecorded observations are lost observations. The maintenance record is the difference between a diagnosed repair and a guess.
- Deferring weatherseal replacement until after Santa Ana season starts. The first wind event deposits a season’s worth of dust in one week. The compression check belongs in August, not October.
When to Call a Professional
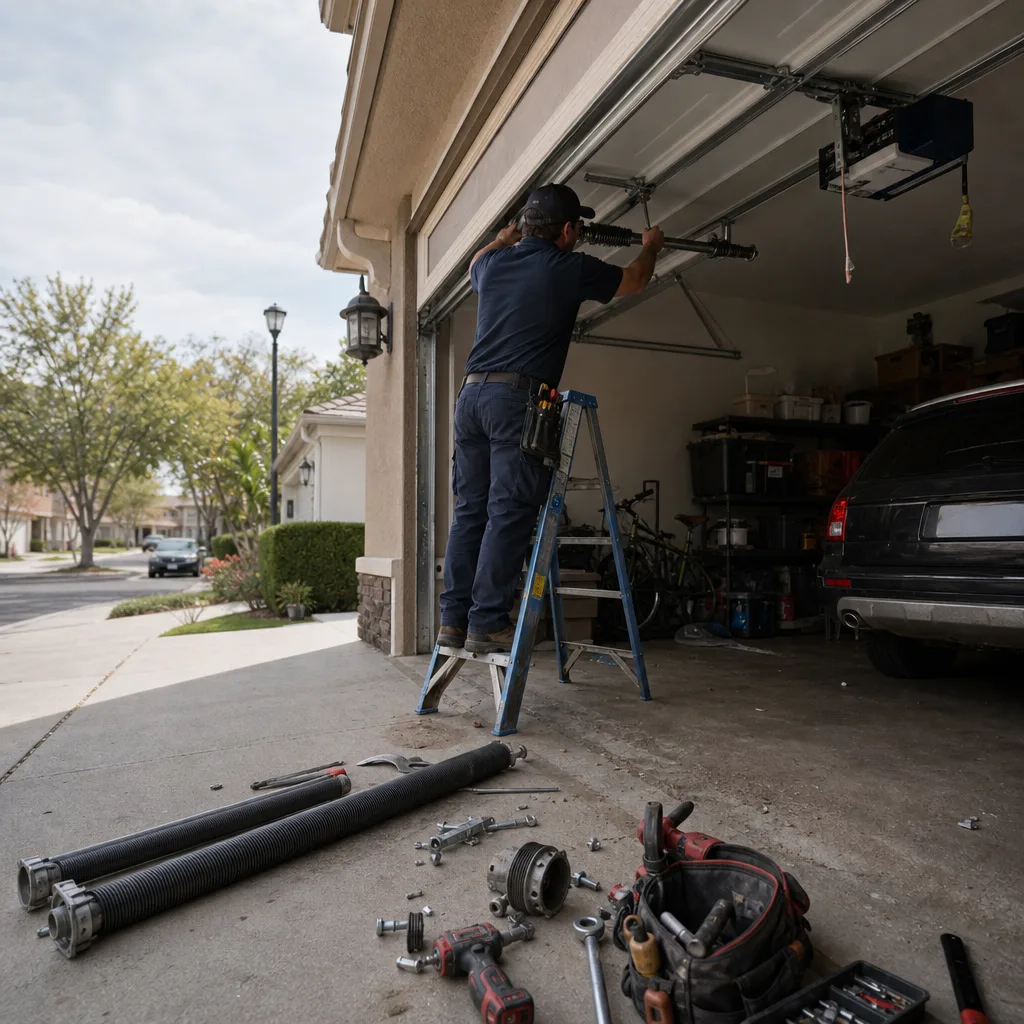
Some maintenance findings require a trained hand, and the threshold is specific. Call a professional when your balance test shows drift beyond the 2-inch threshold at any position; when you see a stress crack or coil separation on a torsion spring; when a lifting cable shows fraying or the drum winds unevenly; when the photo-eye fails the foot-interruption test; or when the force test shows the opener crushing the obstruction rather than reversing. None of these are DIY corrections. The spring assembly stores enough energy to lift the entire door, and a cable under tension that parts can drop half the door’s weight suddenly. In Anaheim, Servo Garage Doors Anaheim home offers free estimates on every repair, with a written price and written scope delivered before any work starts, per Clause 1 of The Haven Standard. Call (949) 822-8002 and a live person answers, 24/7.
Frequently Asked Questions
Monthly visual inspections of springs, cables, and rollers; quarterly lubrication of hinges and rollers; twice-yearly balance tests; and an annual weatherseal compression check in August before Santa Ana wind season. The full routine takes under 20 minutes per session, and the record takes 2 minutes more.
Spring replacement in Anaheim typically costs $180 to $340 per spring for a standard residential torsion spring replacement including service call and labor, depending on spring size and cycle rating. The price range reflects the spring’s cycle life rating (10,000, 20,000, or higher), not just the part size, and a written price is quoted before any work begins. Call (949) 822-8002 for an exact quote; estimates are free.
Yes, for the inspection and lubrication items in this checklist. The balance test, visual spring inspection, weatherseal check, roller and cable observation, track bolt check, and opener safety tests are all designed for homeowner execution with no special tools. The repair actions that follow a failing result, particularly spring adjustment, cable replacement, and track alignment, are professional territory and should not be attempted by a homeowner. For help choosing the right technician, read How to Hire a Garage Door Contractor in Anaheim: A Step-by-Step Guide.
Silicone spray on nylon rollers, white lithium grease on metal hinge pivot points, and a garage door spring lubricant or spray white lithium on torsion spring coils. Never use WD-40 on rollers: the solvent carrier degrades nylon and attracts dust on metal. Tracks should remain dry and clean.
A standard 10,000-cycle torsion spring lasts approximately 7 years on a door that cycles 4 times daily, which is typical for Anaheim homes used as primary vehicle access points. Higher-cycle springs (20,000 cycles and above) last proportionally longer and are a recommended upgrade at replacement time, typically adding $40 to $80 per spring.
Yes. We service and install all major garage door brands including LiftMaster, Chamberlain, Genie, Clopay, Amarr, Wayne Dalton, Craftsman, and Raynor. Every job, regardless of brand, is quoted with a flat, written price and written scope before any work begins, and every visit closes with a documented photo record of what was found and what was done.
The Bottom Line
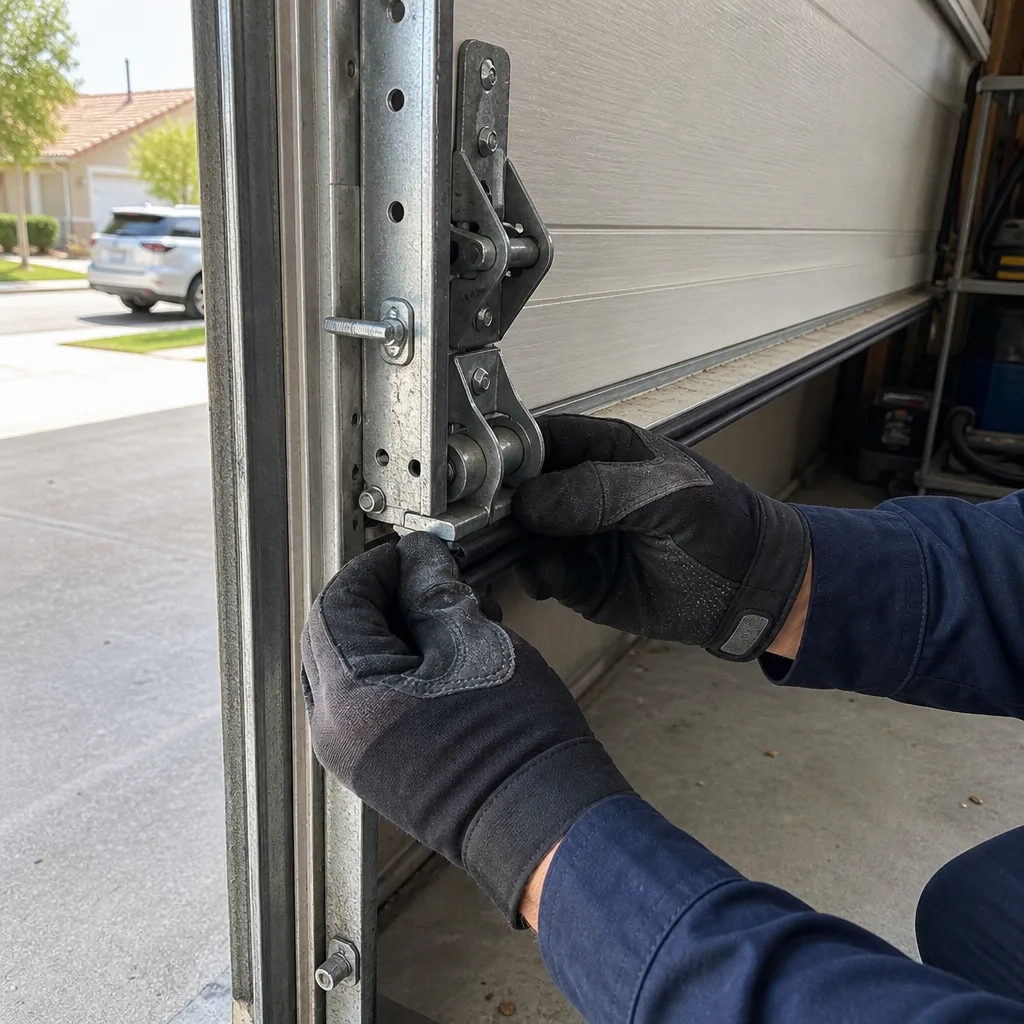
The maintenance checklist that actually protects your garage door is the one that tells you what each observation means. A balance test with pass/fail thresholds in inches tells you when a spring is failing before it fails. A roller inspection that distinguishes surface wear from bearing failure tells you which rollers to replace and when. A weatherseal compression check timed to Anaheim’s Santa Ana season keeps a season’s worth of dust out of your garage. Write down what you find, use the right product on the right component, and call a professional the moment a result crosses from pass to fail. The repair that catches a problem before it breaks is cheaper every time, and the record that proves what was done before protects that repair forever. Explore more guides & resources to keep your door running smoothly year-round.
Written by Marcus Deller, Owner at Servo Garage Doors Anaheim, serving Anaheim since 2015.